Looking for a few quick ways to recharge and revitalize the soil where you grew your tomatoes this year?
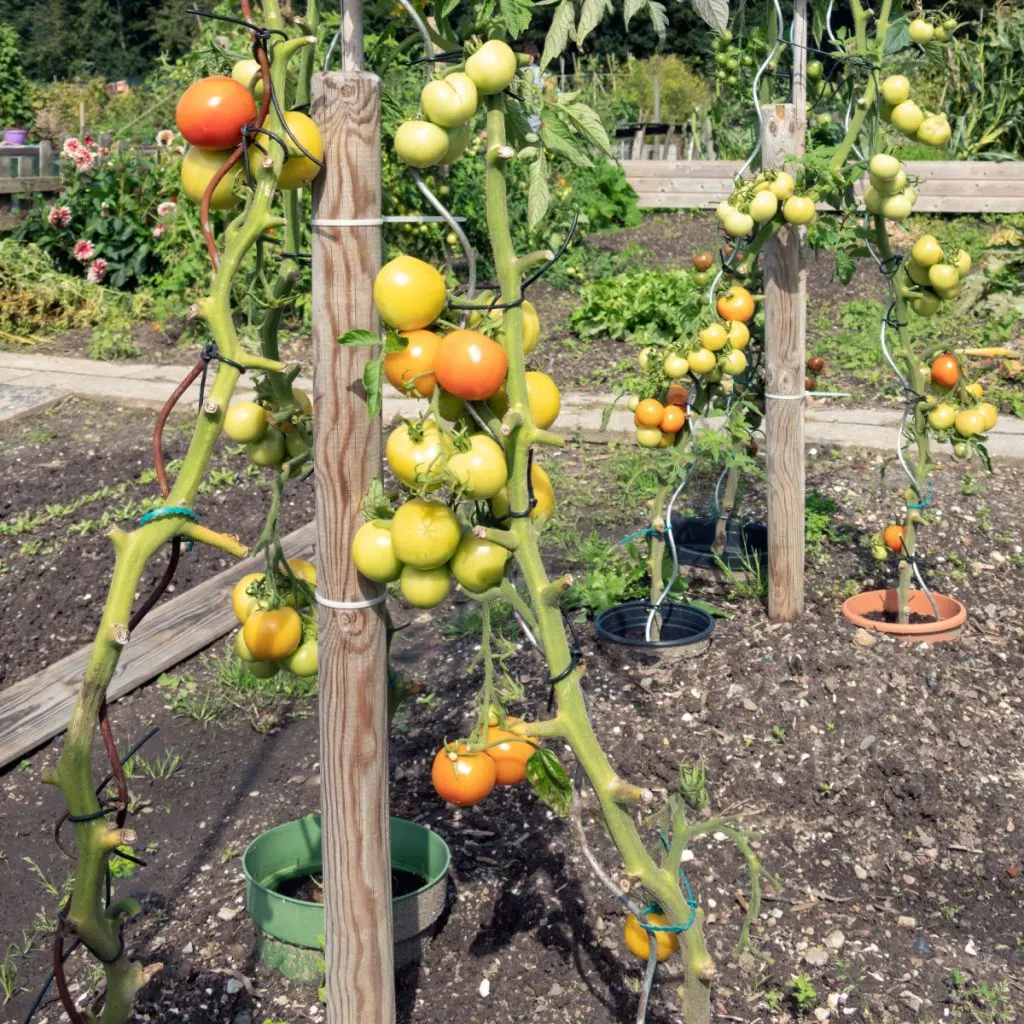
Tomato plants are incredibly heavy feeders from the soil. So much so that if at all possible, it’s best to never plant them in the same space for a few years. This not only allows the soil to recover and replenish its nutrients – but also keeps future tomato plants safe from blight and other disease.
But for those with limited space or who grow in raised beds, moving where they grow their tomatoes each season can be nearly impossible. Because of that, recharging that soil before next year is a must. And even if you won’t be planting tomatoes in the space you grew them this year – adding life back to the soil is critical for growing any other crops next year as well.

Tomatoes not only consume a lot of nitrogen from the soil, they also use up large amounts of calcium, phosphorous and potassium. All of those happen to be key needs for nearly all vegetable plants and flowers. And if they are not put back in the soil for next year, it will be hard for anything to grow.
The good news is that bringing soil back to life isn’t difficult or time consuming. Nor does it have to be costly. With recharging that old soil in mind – here is a look at a few simple ways to bring life back to your garden space!
How To Recharge The Soil Where Tomatoes Grew
How you recharge the soil where your tomatoes grew all depends on where and how you grew them – whether it be in a traditional garden setting, in raised beds, or in buckets or containers. We will cover each below – starting with recharging garden soil.
Replenishing Nutrients In A Garden Setting
Rejuvenating the garden soil where tomatoes were growing can be part of an overall plan. The best way to both protect and re-energize garden soil is with a cover crop. Especially if it is a no-till, low maintenance cover crop.
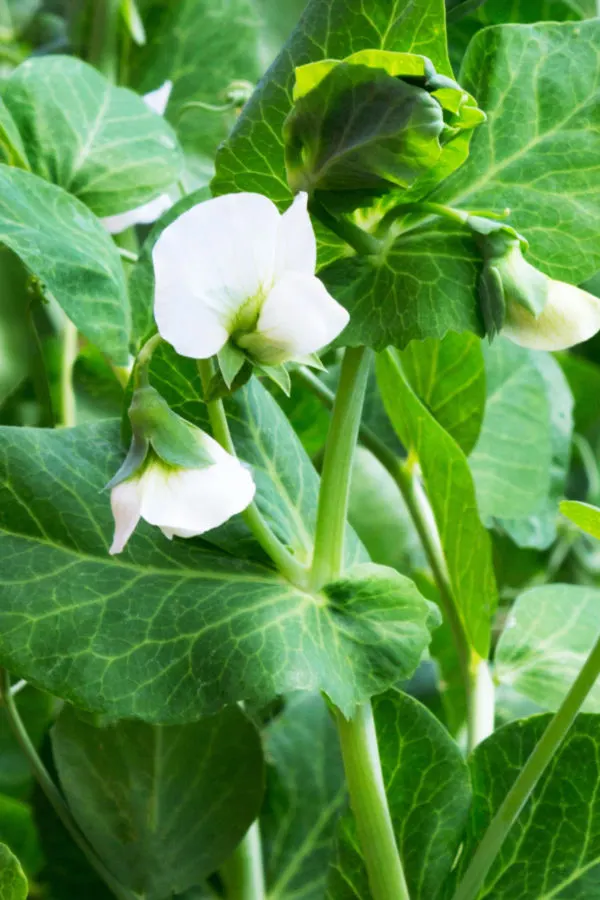
Cover crops such as cereal rye, oats or field peas all add nutrients back to the soil. They can be planted as soon as you pull your tomato plants in late summer or early fall. They will germinate fast to help cover the soil over the winter. And then, in the spring, as they die off, they give all of their nutrients back to the soil.

In the case of oats or rye, the thick vegetation re-supplies the soil with all kinds of trace nutrients. They also add a fair amount of organic matter to help the soil’s structure. Peas do that as well, but they also help fix nitrogen levels in the soil, which happen to be very important for tomatoes and other vegetables.
Many gardeners plant a combination of oats and field peas or rye and field peas to get all of the benefits of both. But one thing is for sure, planting at least one will go a long way to revitalize your soil. Affiliate Link: Peas and Oats Cover Crop Seeds – Fast Growing Blend
Beyond The Cover Crop – How To Recharge The Soil Where Tomatoes Grew
Although a cover crop will do wonders in a traditional garden, because tomato plants take so much out of the soil, it’s actually a great idea to add additional nutrients right where the tomatoes were growing the past year before you plant the cover crop.
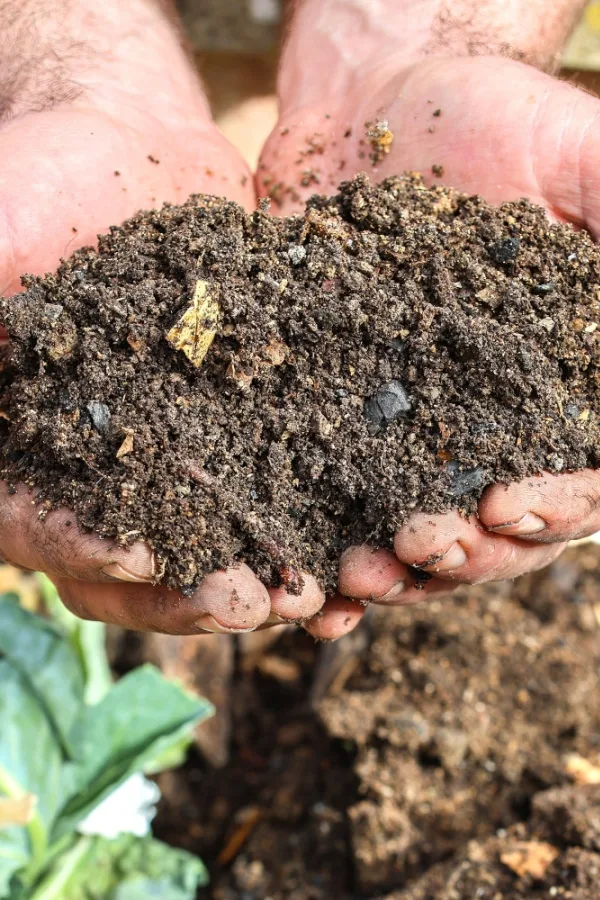
When it comes to soil amendments, you simply can’t beat compost. Compost contains all of the key elements to replace what the tomato plants took from the soil. Even more, it also helps to add structure and humus back to the soil as well.
How much compost do you need to add? The best practice is to dig in a few shovel fulls of compost to each old planting hole. This is also a great time to add in a few tablespoons of crushed egg shells to each old planting hole as well. Why egg shells? Because they contain loads of calcium – which tomato plants happen to use a lot of as well!

Together the two all natural ingredients will work wonders to help restore soil vitality. Once in place, plant your cover crop seeds, and your garden soil will be more than ready to go next spring!
Replenishing The Soil In A Raised Bed – How To Recharge The Soil Where Tomatoes Grew
Depending on the size and location of your raised beds, you may be able to plant a power combo of nutrients that a traditional garden uses as well – compost, egg shells, worm castings – and a cover crop!
One thing is for sure, adding in compost and pulverized egg shells to the soil is a must for starters. The soil in raised beds has no other ability to recharge, so it is important to always add both at the end of the growing season.
As for how much, when it comes to compost, the more the better. For best results, it’s important to try to add enough compost to equal 5 to 10% of the total soil volume. Especially if you are unable to plant a cover crop on top for the winter
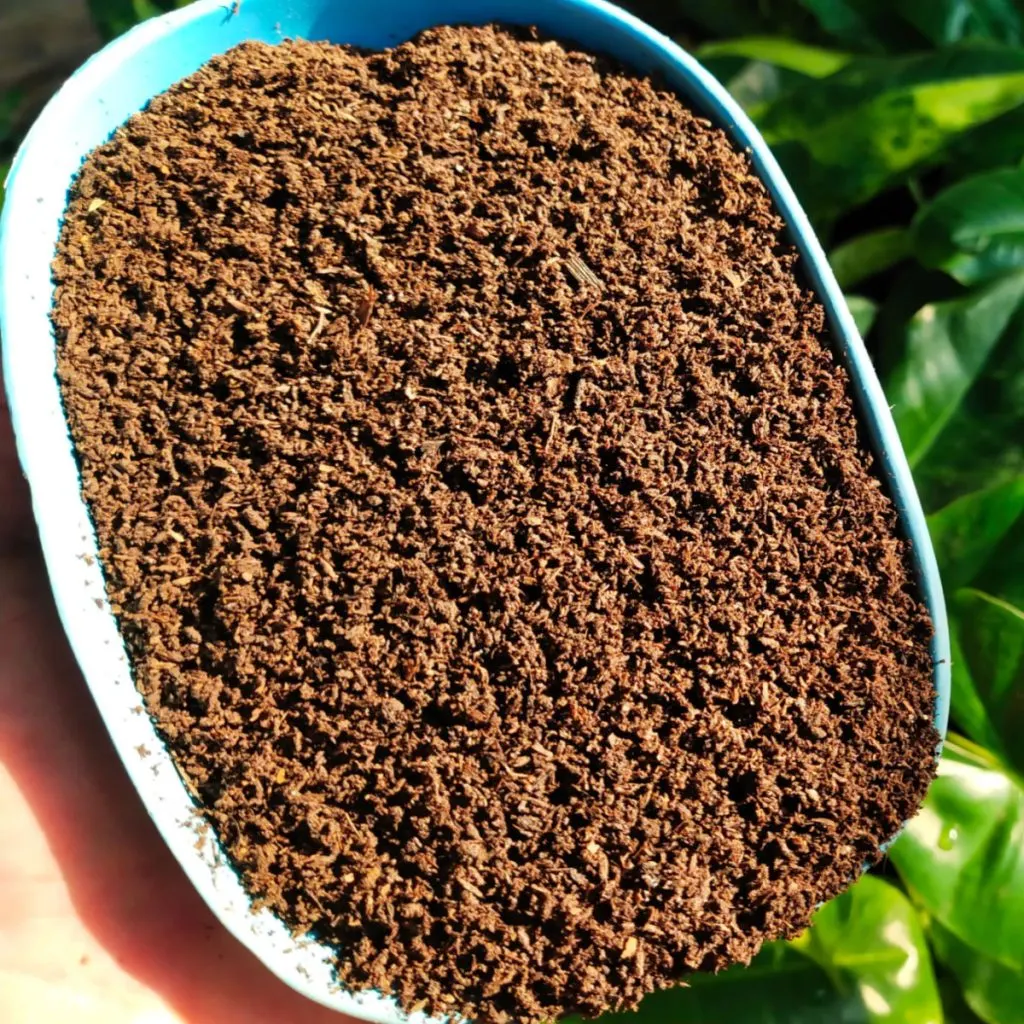
For the egg shell powder, aim for adding one to two tablespoons for every 2 square feet. In addition to compost and egg shells, worm castings are a great addition as well. Much as with compost, castings teem with all kinds of great nutrients to recharge soil. Affiliate Product Link: 100% Pure Worm Castings

As for the amount of castings, anywhere from 1/4 to 1/2 cup per square foot will work well. Castings are another “must” if you won’t be planting a cover crop.
Replenishing The Soil In Containers – How To Recharge The Soil Where Tomatoes Grew
When it comes to growing tomatoes in containers, trying to re-use the soil again is asking for disaster. Unfortunately, using the same soil will leave the new plants with almost zero nutrients to absorb. See: How To Recycle Potting Soil From Tomato Pots & Containers – And Use Again Next Year!
There is simply no way to recharge the soil in place. Instead, it is far better to compost it in your compost pile and allow the soil to recharge. Then, next year, use a blend of 50% compost and 50% new potting soil to replant. This at least allows you to re-use some of the soil and gives your new tomato plants plenty of power.
For more info on growing great tomatoes, check out our article: How To Recharge The Soil Where Tomatoes Grew – And Why It’s Important!
Here is to recharging the soil where your tomatoes grew this year – and to an even better crop of tomatoes next year!
I Grow Tomatoes
Follow Our Facebook Page For Even More Great Tomato Growing Tips! I Grow Tomatoes Facebook Page
I Grow Tomatoes is a website created for those who love all things about tomatoes – from planting and growing – to cooking and canning! We publish two articles every week, 52 weeks a year. Sign up today to follow via email! This article may contain affiliate links.
