Buying tomato plants from a store or nursery is a great way to get a jumpstart on the growing season, but there are a few critical steps to get those plants ready before they can go into your garden.
These young plants often come from warm, controlled environments like greenhouses, where they’ve been sheltered from cold temperatures, harsh winds, and direct sunlight. While they may look healthy and ready to go into the ground, putting them outside too soon can shock or even destroy them.
That’s why letting them acclimate to natural outdoor weather conditions is a vital step before planting tomatoes in an outdoor garden or raised bed. This process is often known in the garden world as the process of ‘hardening off’ transplants.


This article walks you through the entire process of hardening off store-bought tomato plants so that they can be ready to thrive in your garden. It explains how weather plays a major role, and it includes other helpful information on pruning, fertilizing, and prepping your garden space, including when to add tomato supports.
Why Hardening Off Is Necessary To Prepare Your Tomato Plants For The Garden
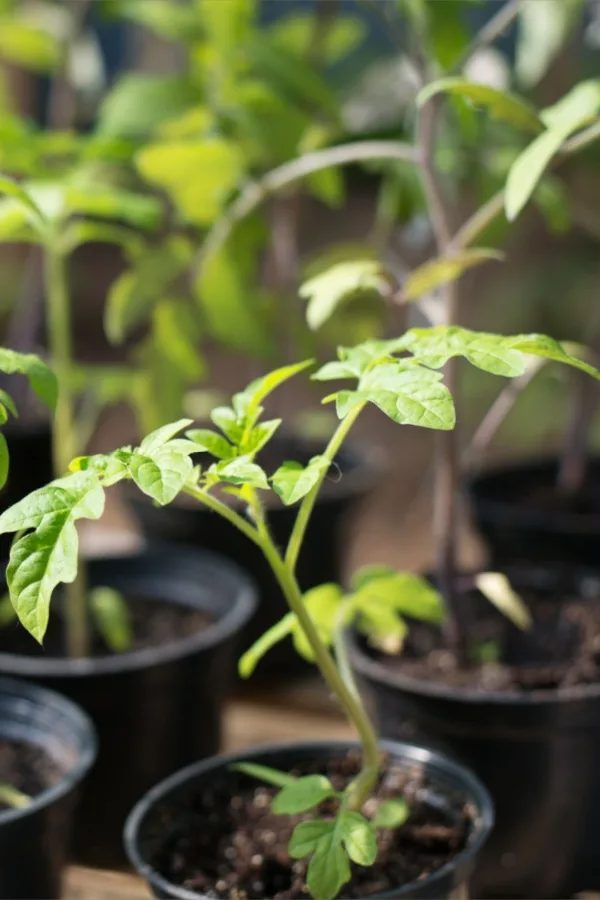
Tomato plants grown indoors or in greenhouses are protected from the elements. They’ve lived in a stable environment with consistent warmth, light, and humidity.
Even if you purchased the plants from an outdoor rack at the hardware store, many of these plants are protected from harsh weather conditions because they are stocked so close together. If these pampered plants are suddenly moved outdoors into full sun, wind, or a chilly night, they’re likely to suffer from transplant shock.
Leaves can sunburn, stems may break in the wind, or the plant might simply wilt under stress. Therefore, it is crucial that the tomato plants have a gradual introduction to life outdoors. Over time, this exposure will help them adjust and build resilience. Think of it as toughening them up before the big move into the garden.
When to Start the Acclimation Process
Hardening off usually takes about 10-14 days. Ideally, start this process about two weeks before the last expected frost date in your area.
Tomato plants are sensitive to cold and should never be planted outside until the threat of frost has passed and nighttime temperatures consistently stay above 50°F (10°C).
If you’re unsure when your last frost date is, local extension offices are a great resource. Once you’re within that window, begin hardening off your plants.
Step-by-Step: How to Get Your Tomato Plants Ready For Your Garden
Day 1–3: Introduce Indirect Light
On the first day, place your tomato plants outside in a shaded, sheltered spot – perhaps on a porch, under a tree, or next to a building that blocks wind. Leave them out for 1 to 2 hours. Bring them back inside afterward.
Each day, extend their time outside by about an hour, still keeping them in shade. Make sure they’re protected from strong winds and rain.

Day 4–6: Partial Sun and Gentle Wind
Start placing the plants where they get some morning sun, which is less intense than afternoon sun. Let them experience a little breeze to help strengthen their stems.
Avoid windy days, but if there’s a light breeze, that’s actually helpful. If temperatures drop below 50°F or there’s heavy rain, skip that day and keep them inside.
Day 7–9: Full Sun Exposure
By now, the tomato plants should be spending 6 to 8 hours outdoors, including several hours in full sun. They can also begin staying out during the day and coming in only at night.
It is important to monitor the plants for signs of stress. They may develop wilted leaves, sunburn (white patches), or drooping stems due to the shock of the new environment. And be prepared to water them more frequently as the sun and wind can dry out the soil rather quickly.
Day 10+: Overnight and Prep for Planting
Leave the plants outside overnight, provided the temperature stays above 50°F. After a couple of successful overnight stays and 10-14 days of gradual exposure, your tomato plants will be ready for the garden.

Watch the Weather
Wind: Young tomato plants are vulnerable to wind damage. Early exposure to light breezes helps toughen stems, but gusty winds can snap tender growth. Use windbreaks or place plants in a sheltered spot.
Rain: Gentle rain is fine once plants are stronger, but a heavy downpour can bruise leaves and compact the soil in their containers. Protect them during thunderstorms or drenching rain.
Cold Temperatures: Cold is one of the biggest risks. Any night below 50°F is too cold for hardening off. Frost is fatal. Keep an eye on overnight lows, especially in the early spring.
Sunlight: Direct sun can scorch tender leaves that aren’t used to it. Gradual exposure is key. Morning sun is ideal at first; avoid placing plants in full afternoon sun during the early days of hardening off.
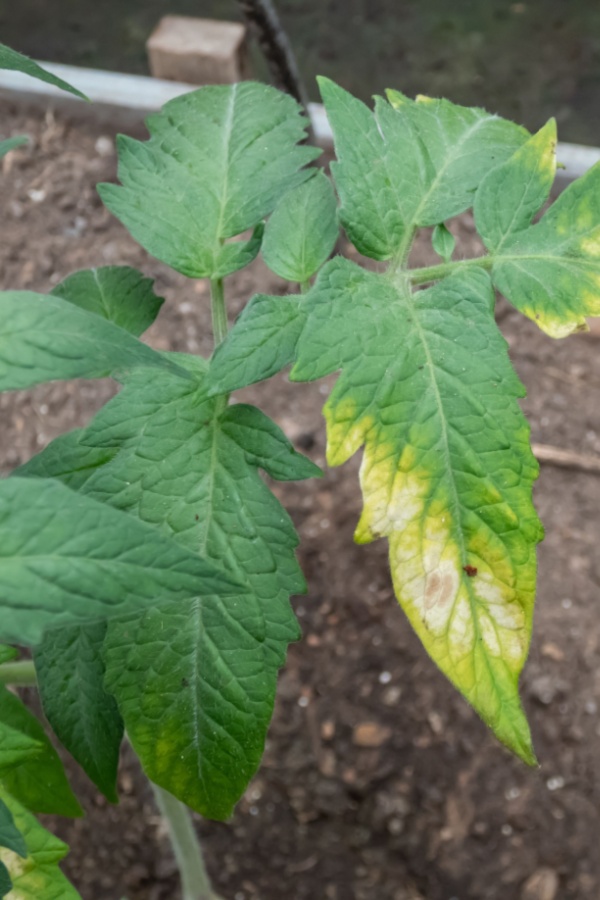
Remove Damaged or Diseased Growth
As you handle your tomato plants daily during the acclimation period, take the time to inspect them closely. Look for:
- Yellowing leaves
- Spots or lesions
- Wilted stems
- Signs of pests
Remove any leaves or growth that appear diseased or damaged. This prevents problems from spreading and encourages the plant to focus energy on healthy growth.
Use clean garden scissors or snips, and never compost diseased plant matter. Instead, dispose of it in the trash.

Fertilize at the Right Time
Many store-bought tomato plants come in soil that includes some slow-release fertilizer, but it doesn’t last long. The best time to begin fertilizing these plants is about one week post planting – not during the hardening off period.
However, if your plants look pale or stunted when you brought them home, a half-strength, balanced liquid fertilizer (10-10-10) can give them a mild boost. Avoid overfeeding, which can encourage leafy growth at the expense of fruit.
A week after your tomatoes have been planted in the garden or raised bed, fertilize them with a tomato-specific fertilizer or balanced (10-10-10) formula every few weeks until they start to flower.
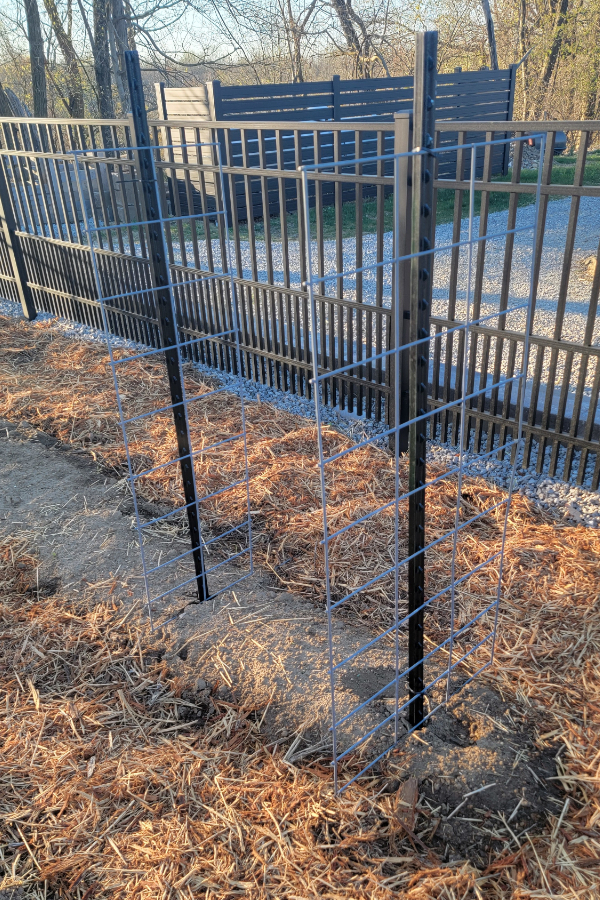
Prepare Your Garden Space Early
While your tomato plants are spending their days outside acclimating to the weather, use this time to prepare your garden beds or raised beds. Here are a few helpful tips:
- Work the soil: Tomatoes like loose, well-drained soil rich in organic matter. Mix in compost or aged manure.
- Add supports: This is a perfect time to install tomato cages, stakes, or trellises. Putting them in before planting avoids damaging the roots later. (See related article: Why You Need To Support Tomato Plants Early & The Best Way To Do It). Decide which support system works for your space and tomato variety (determinate varieties usually need less support than indeterminate tomato plants).
- Spacing matters: Tomatoes need room to grow and airflow between plants. Most varieties need about 18 to 24 inches between plants.

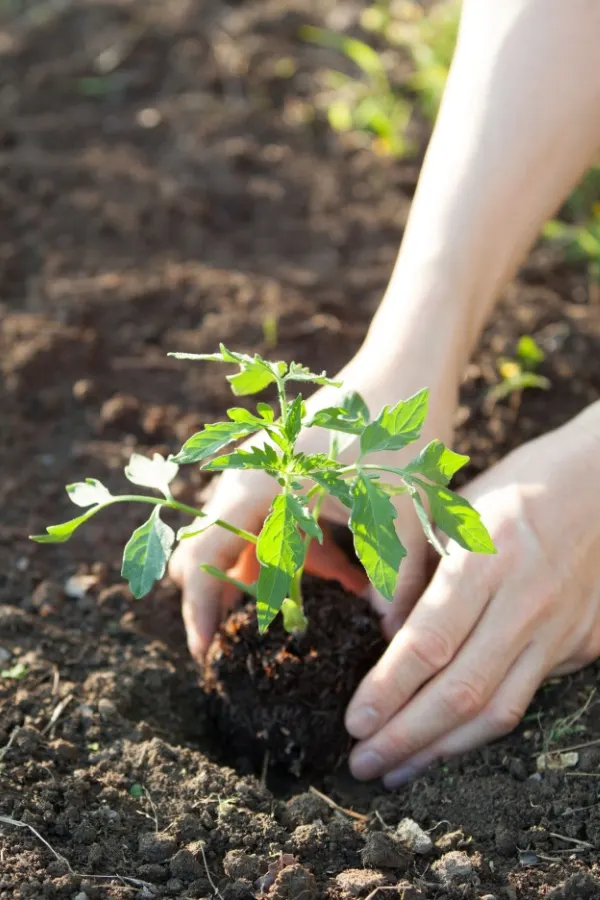
When Is it Safe to Plant Tomatoes Outside?
Tomatoes are warm-season crops that thrive in sun and heat. Never rush them into the ground. Plant when:
- Nighttime temperatures are reliably above 50°F
- Soil temperatures reach at least 60°F
- The acclimation period is complete
- You are past the date of the average last frost
A raised bed will warm up faster than in-ground soil, so you might be able to plant a few days earlier in raised beds. Use a soil thermometer if needed to check. (See Affiliate Product: Urban Worm Soil Thermometer).
In most regions, this means waiting until mid to late spring. Zones vary, so always consult your local extension office for the recommended planting date for your area.
Taking the time to acclimate your store-bought tomato plants to the outdoor conditions so that they are ready to plant can make all the difference in how well they grow and produce during the season. It’s tempting to rush and get them in the ground on the first warm day, but a gradual transition to outdoor life is what helps tomato plants thrive.
Spring Garden Tasks
As your plants toughen up in the fresh air and sunshine, take advantage of the time to prepare your beds, install supports, and get your garden in order. Once the plants are ready and the weather is just right, it is time to plant them in your garden for a strong and productive growing season.
Hardening off may seem like a tedious task, but it’s one of the most important chores you can do to help make sure that you have healthy, happy tomatoes all summer long. For more tips on getting your young tomato plants growing strong and growing fast, be sure to check out: How To Prune Young Tomato Plants – And Why It Is So Important!
Follow Our Facebook Page For Even More Great Tomato Growing Tips! I Grow Tomatoes Facebook Page
I Grow Tomatoes is a website created for those who love all things about tomatoes – from planting and growing – to cooking and canning! We publish two articles every week, 52 weeks a year. Sign up today to follow via email! This article may contain affiliate links.