If you are looking for a great way to use up all those delicious garden fresh tomatoes before they go bad then keep it simple and make tomato juice. It is easy to do and the juice can be used as a drink or in a variety of recipes!
Having a couple of tomatoes on hand is great for eating fresh in salads and on sandwiches, but what happens when you have a ton of ripe tomatoes all at once? One thing is for sure, you sure don’t want all of that amazing produce to go bad before you can use them.
At the most, ripe tomatoes stay fresh for about two weeks under ideal conditions. It is best to store them on the kitchen counter rather in the refrigerator. However when they begin to overtake your working space, it is definitely time process them.


That’s where canning tomato juice comes into play. You are able to use up a huge harvest of ripe tomatoes while preserving that fresh, sharp tomato flavors to enjoy all winter long!
Best Tomato Varieties To Use To Make Tomato Juice
To be honest, any tomato variety can be used to make tomato juice. Even cherry tomatoes work great for juicing because they are so sweet and hold a lot of liquid. However, some tomato varieties are a little better than others. In general, the larger the tomato is, the more juice it will have.
Large heirloom tomatoes or those that are listed as slicing tomatoes go a long way to creating amazing tomato juice. Not only can you get a lot of juice out of a single tomato, but they are extremely flavorful as well.

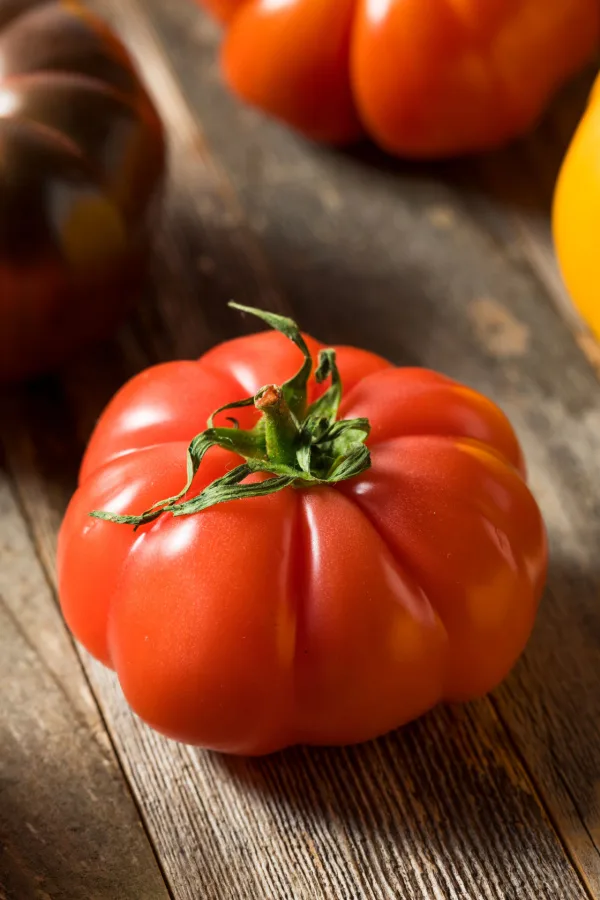
Heirlooms like Brandywine, Beefsteak and Purple Cherokee all fit in this class and are perfect for creating rich and flavorful tomato juice.
The only varieties of tomatoes that don’t work well for making and canning tomato juice are paste/plum tomatoes. This is because they are meatier and don’t have a lot of juice inside. However these types of tomatoes work better for salsa, thick sauces, and canning diced tomatoes. (See: How To Can Diced Tomatoes).
Although before juicing the tomatoes, you must be aware of acid level of the tomato you are using. The natural acids in tomatoes are what allow you to be able to can them without a lot of preservatives or additions. If you do choose a majority of low-acid tomato varieties, it is best to freeze your tomato juice as opposed to canning it.
How To Make Tomato Juice
* Complete recipe instructions including specific measurements, cook temperatures and times are located in a printable recipe card at the bottom of this article. However, be sure to read the entire article for helpful tips and tricks when making this recipe.
Ingredients & Equipment
- Tomatoes
- Bottled lemon juice
- Salt (optional)
- Non-reactive stockpot
- Potato masher
- Large spoon
- Food mill or strainer
- Canning Jars, lids, and bands
- Water bath canner or pressure canner
Instructions – How To Make Tomato Juice
In general, you can get about 7 quarts of tomato juice out of 23 pounds of tomatoes. This is equivalent to about 8-quarts of small, cubed and cored tomatoes.

Prepare The Tomatoes
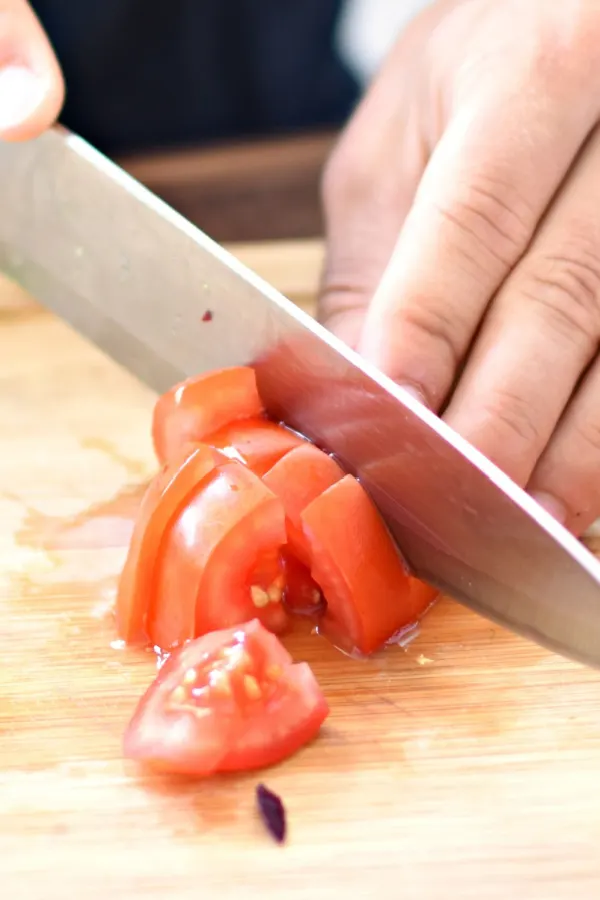
First, you need to prep your tomatoes. Wash each one thoroughly and remove any blemished areas. Cut out the core of larger tomatoes, but you can leave cherry tomatoes whole.
Cut larger tomatoes into small chunks, about 1 to 2 inches in diameter. The smaller you make the cuts, the quicker the tomatoes will cook down. Just keep each one fairly uniform in size if possible. This will allow the batch to cook down evenly.
Heat The Tomatoes
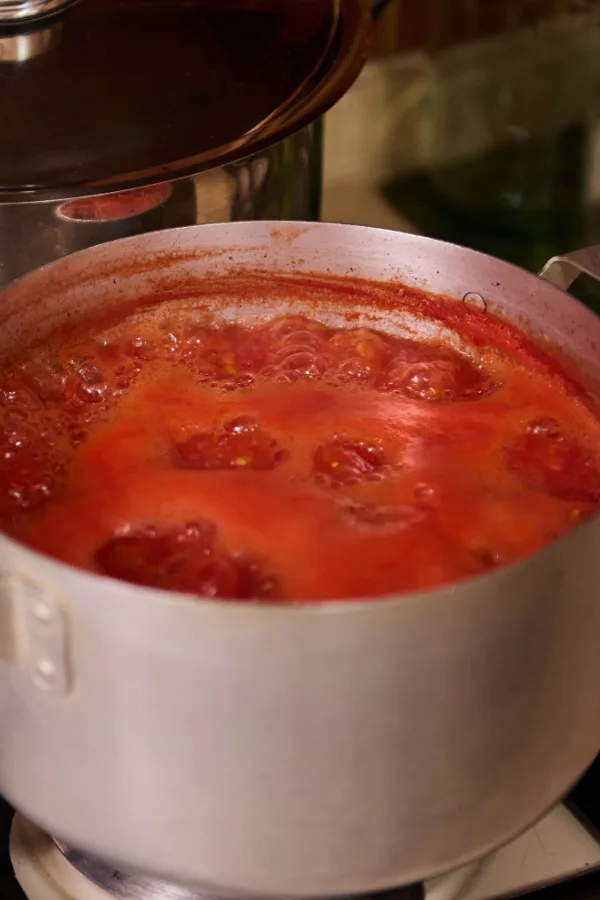
Add the tomato chunks to a large, non-reactive stockpot until the pot is about a sixth of the way full. Reserve the rest for later. Set the pot over medium heat. As the tomatoes start to cook, use a potato masher to help release the juices.
Stir the pot frequently to prevent any tomatoes from sticking to the bottom and burning. Bring the tomatoes and their juice to a light boil. Once the pot starts to boil, add the rest of the tomatoes. Again, stir frequently to prevent any sticking and boiling.
You can continue to add more tomatoes as the ones in the pot start to break down and reduce if you need to work in batches. When all of your tomatoes are in the pot, bring it back to a boil and simmer lightly for about 5 to 10 minutes or until the tomatoes can be mashed easily.

Using A Food Mill Or Strainer To Make Tomato Juice
After the tomatoes have been heated and have started to become tender, it is time to remove the skins and seeds. To do this, you will use a food mill or a tomato strainer. Work the tomatoes through the strainer or food mill in small batches per manufacturer’s instruction. (Affiliate Link: Ergonomics Food Mill)
Add the strained juice back into the stockpot. Once all the seeds and peels have been removed, bring the pot back to a boil and cook for 10 minutes over medium-high heat.
How To Can Tomato Juice
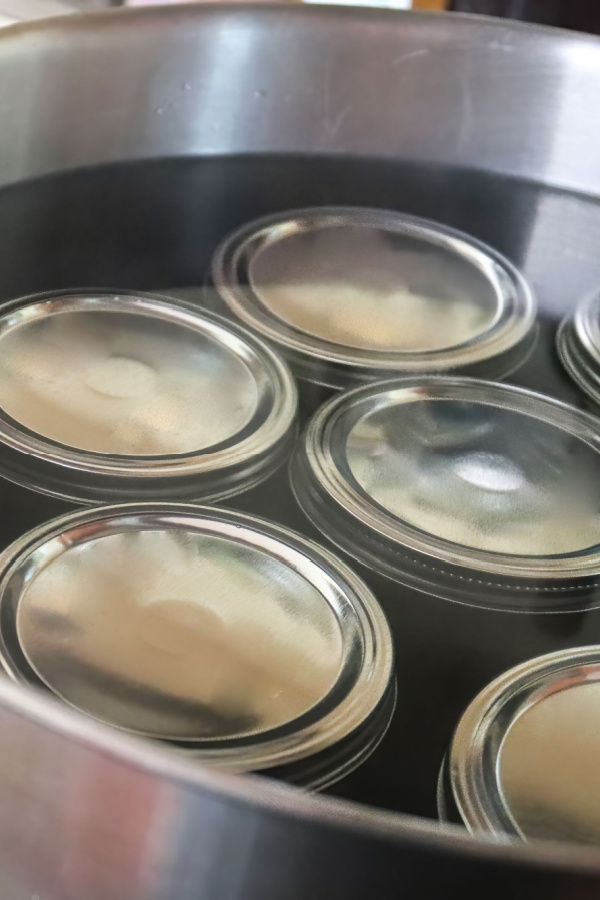
It’s now time to prepare your sterilized jars. Add 1 tablespoon of bottled lemon juice to each pint jar or 2 tablespoons to each quart jar. You can also add ¼ teaspoon of salt to pint jars or ½ teaspoon to quart jars for added flavor. Fill the jars with the hot tomato juice, leaving half an inch of headspace at the top.
Remove any bubbles from the jars and wipe the rim with a clean damp cloth. Then add a canning lid and finger-tighten the band on each jar. (Note: Check to see if your lid brand requires you to heat the lids prior to adding to jars and do so if needed.)

Water Bath Canner – 35 minutes for pint jars, 40 minutes for quart jars
Pressure Canner – 10 lbs of pressure for 15 minutes for both pint and quart jars
Processing times listed are based on 1,000 feet and below sea level elevation. You will need to adjust your processing time based on your specific altitude. (See: Altitude Adjustment Guidelines)
How To Store Canned Tomato Juice
After the jars have been processed allow the jars to sit in the canner for about 5 minutes with the heat off. The time starts either after the processing time is up for a water bath canner or after the pressure has dropped to zero and the release valve had dropped for pressure canning.
Then, carefully remove each jar and set it on a thick towel on your countertop. Allow them to cool, undisturbed, for 24 hours. After 24 hours, check each lid to see whether or not it has sealed properly. You can easily do this by pressing on the center of the lid.
If it gives or moves, then the lid was not sealed, however, if there is no movement, the jar has sealed properly. Put any jars that didn’t seal into your refrigerator and consume them within two weeks. Or, freeze the juice in a freezer-safe container.
Label each sealed jar and place it in a cool, dark place.
By creating your own canned tomato juice, you will be able to enjoy the fresh from-the-garden flavors all year long!
For more great ways to save tomatoes, be sure to check out our article on How To Freeze Tomatoes – Preserving Tomatoes Without Canning.

How To Make and Can Tomato Juice
Make your own tomato juice in just a few easy steps. A great way to preserve your fresh tomatoes from your garden for use throughout the year!
Ingredients
- 23 pounds tomatoes
- 14 Tablespoons Bottled lemon juice
- 3 1/2 teaspoons Kosher salt, (optional)
Instructions
- Wash tomatoes and remove any bad spots. Discard any rotten or overly ripe tomatoes.
- Cut up enough tomatoes into 1/2" to 1" chunks to fill a 6 or 8-quart non-reactive stockpot.
- Fill the stockpot about 1/6 of the way up with tomatoes. Place over medium-low heat and allow to cook down. Stir frequently to prevent sticking and burning.
- Once tomatoes soften, use a potato masher to mash tomatoes.
- When the tomatoes begin to boil, add the remaining tomatoes. Continue to stir frequently. Bring back to a boil and cook for 5-10 minutes.
- Pour tomatoes into a food mill or strainer to remove skins and seeds. Return liquid back to the stockpot.
- Over medium-high heat, bring to a boil for 10 minutes.
- In warm sterilized canning jars, add 1 Tbsp bottled lemon juice to each pint or 2 Tbsp for each quart. Optional, add 1/2 tsp of salt to each jar.
- Fill jars will hot tomato juice, leaving 1/2" headspace. Wipe jars to clean and add lids and bands.
- Process in a hot bath canner for 35 minutes for pint jars or 40 minutes for quart jars. Alternatively, process in a pressure canner with 10 lbs of pressure for 15 minutes for both sizes.
- Allow jars to sit for 5 minutes after the processing time is up. Carefully, remove jars from the canner and place them on a thick towel. Leave them undisturbed for 24 hours.
- After 24 hours, check each jar to ensure the lid has properly sealed by pressing on the middle. If it moves, immediately place it in your refrigerator and use it within two weeks. If it doesn't move, the jars can be stored in a cool dark place for up to 1 year.
Notes
- *Processing time is based on 1000 feet and below elevation. Be sure to change processing times to account for your elevation.
- 23 pounds of tomatoes will produce approximately 7 quarts of tomato juice. However the actual volume will depend on the variety of tomatoes that you are using.
Recipe provided by igrowtomatoes.com
Nutrition Information
Yield 7 Serving Size 1 quartAmount Per Serving Calories 273Total Fat 3gSaturated Fat 0gTrans Fat 0gUnsaturated Fat 2gCholesterol 0mgSodium 711mgCarbohydrates 60gFiber 18gSugar 40gProtein 13g
Recipes shared are not from a dietician or nutritionist, and any nutritional information shared is an estimate. If calorie count and other nutritional values are important to you, we recommend running the ingredients through whichever online nutritional calculator you prefer. Calories and other nutritional values can vary quite a bit depending on which brands were used.